Add an Event
- From the home page click on the Add an Event

- left click once on your chosen date, then click the ‘Add New Event’ button and the system creates an event slot for you to expand upon.
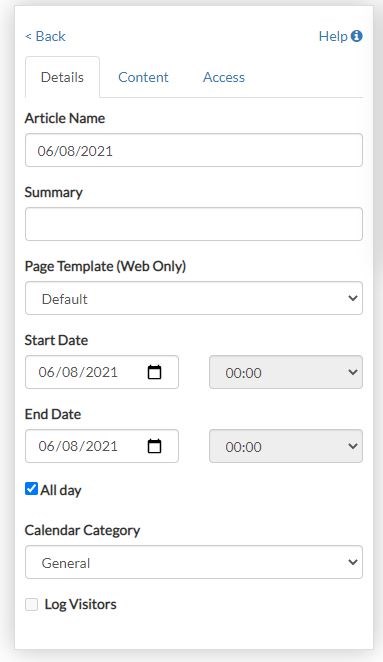
- In the details tab enter the ‘Article Name’
- If it’s a one-day event then the start and end date should be the same.
- If you take a tick out of ‘All Day’ you can select a time slot.
- We can also create colour coded categories for you see visible on your websites for different events. So, for example all praise assemblies could be in Yellow.
- To add more information to your event, click on the Content tab. You can add a flyer or type more information etc here.
- To decide who see’s the event on your website and App click on the Access
- For everyone to see the event all boxes here must be ticked. However, to make it specific for only certain people to see take the tick out of Public and select the class or group you want to share it with.
- It will only be visible for people within the selected group on your website and App.
- You can create inset days, school trips, Staff Meetings there is no limit.